Explore our Project Gallery
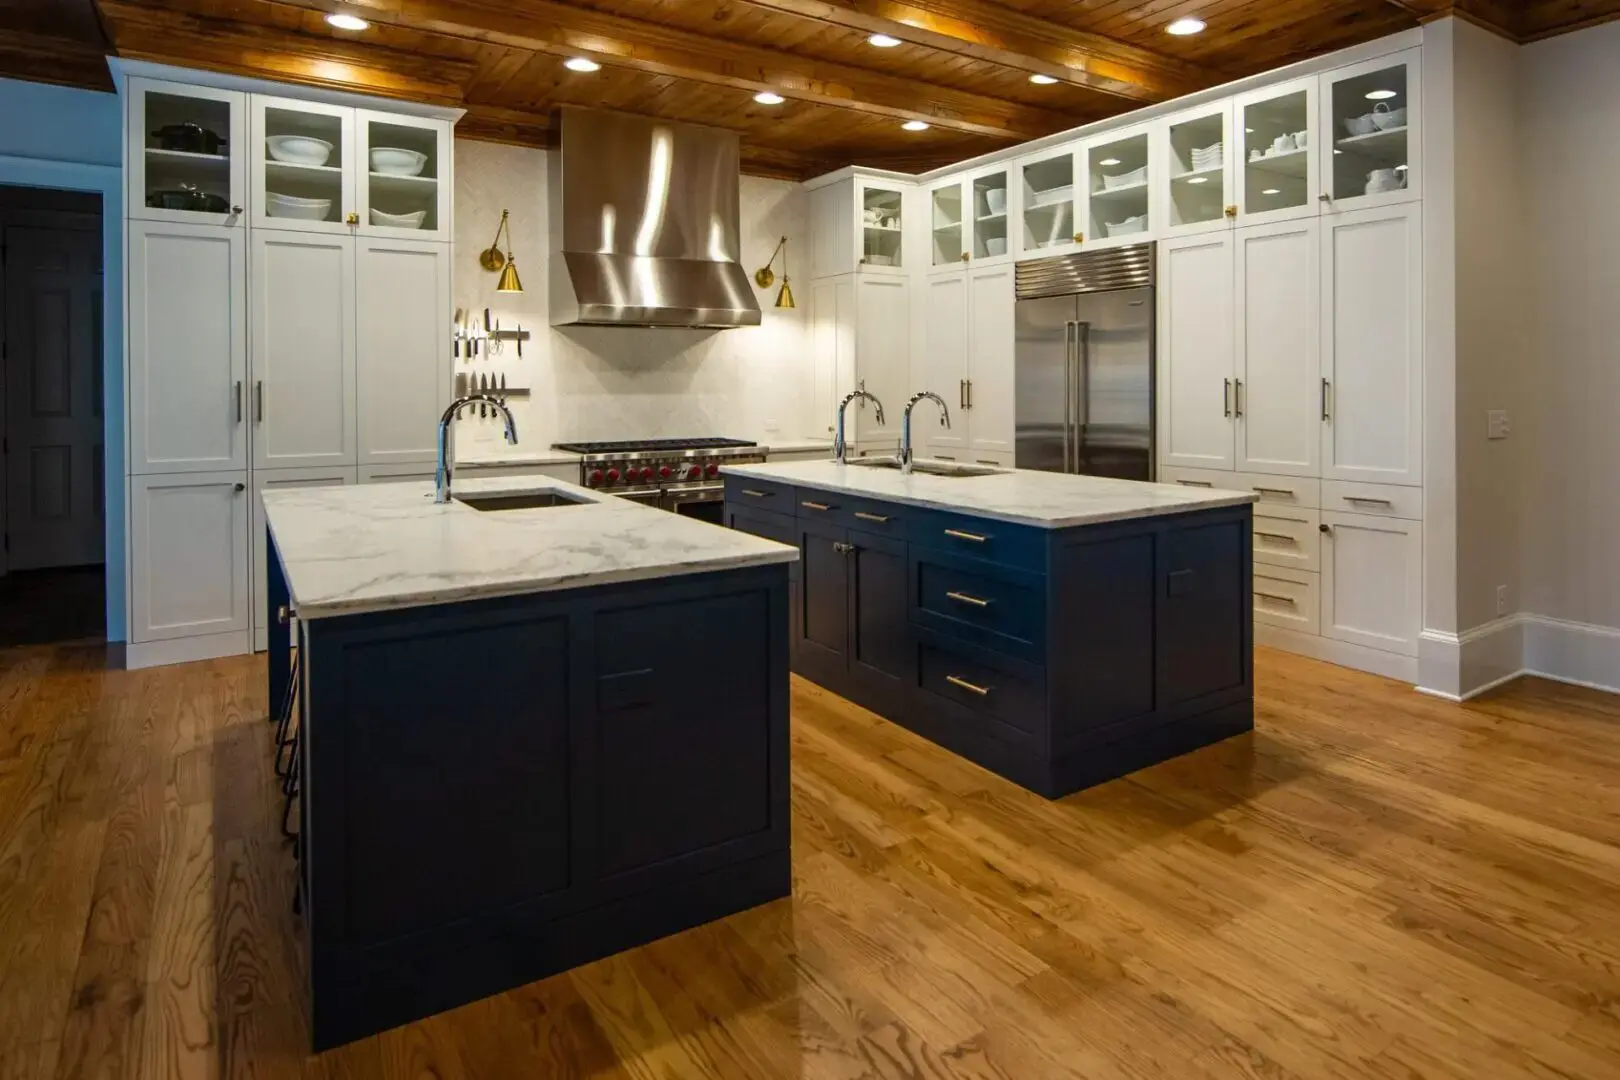
Project 1
Photo Credit: Client

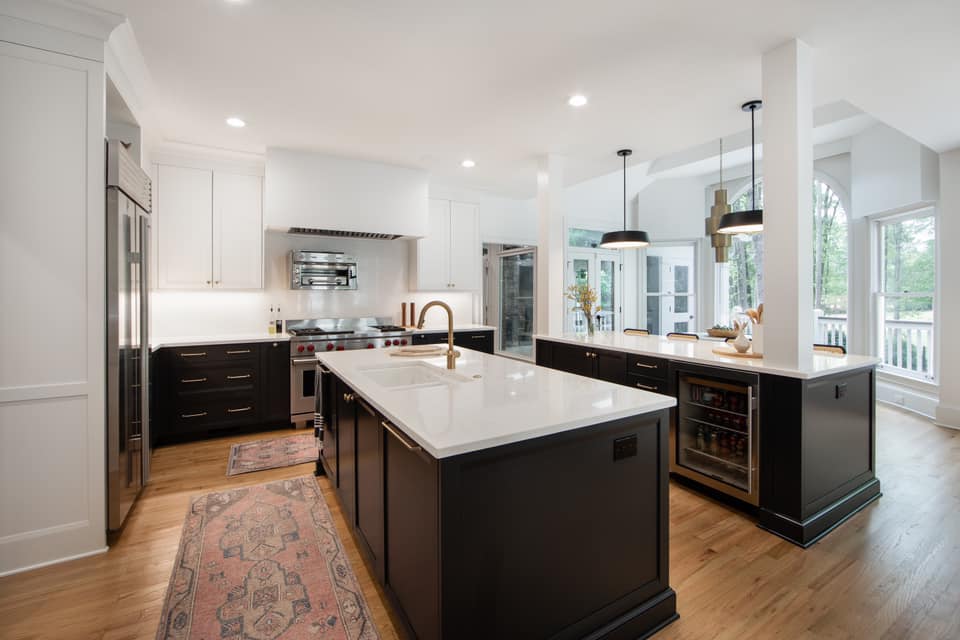
Project 2
Photo Credit: Client
")
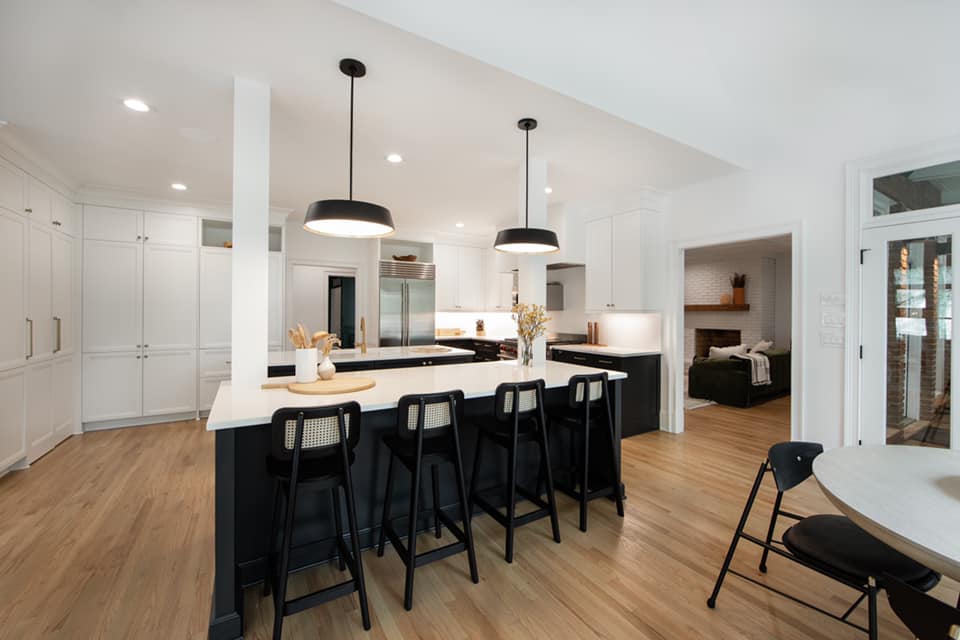
Photo Credit: Client
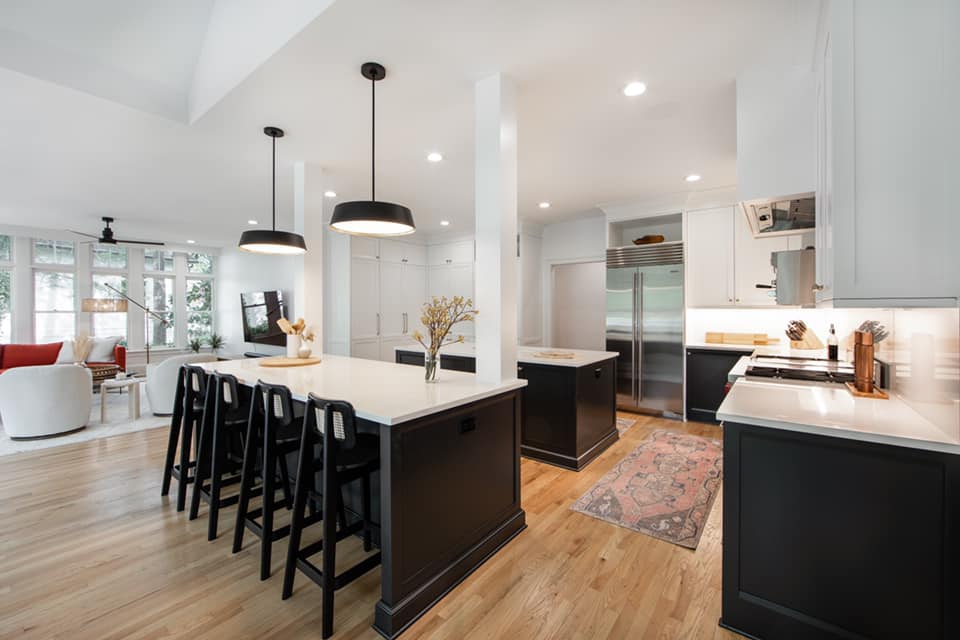
Photo Credit: Client